The Learning Room Set-Up for 2008/09
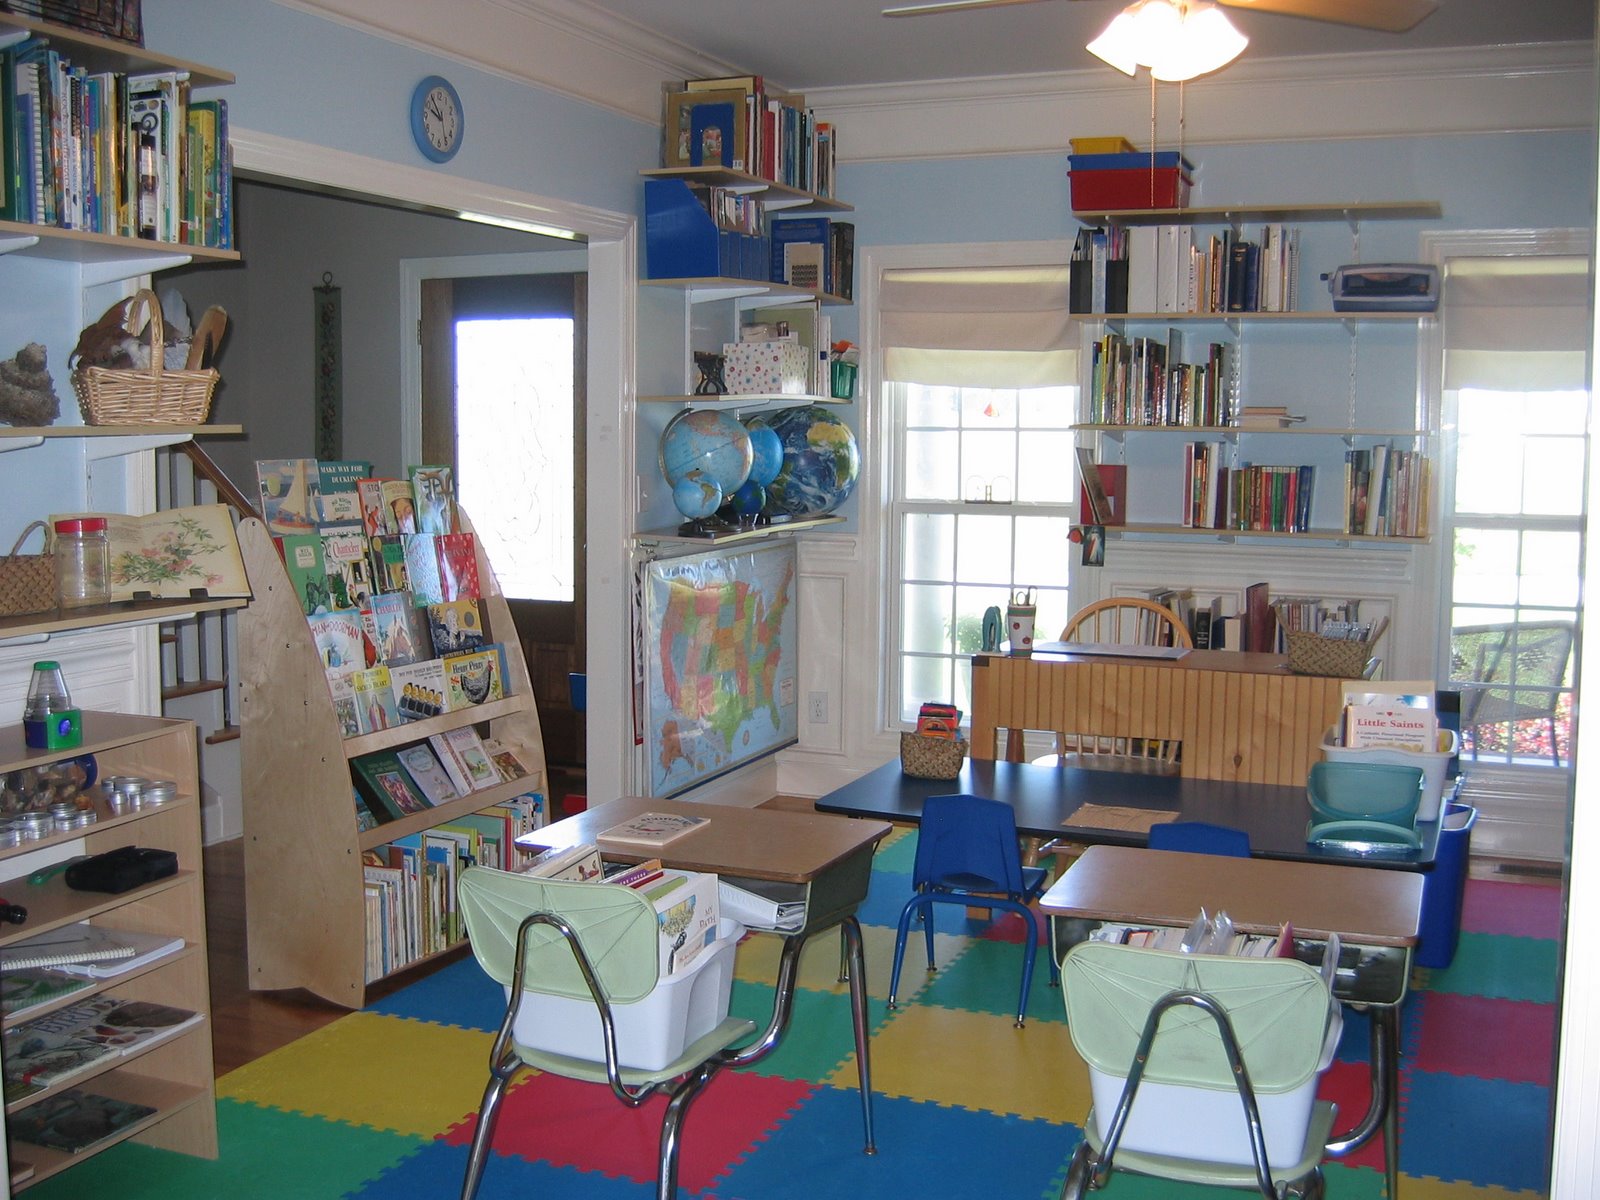
I finally finished working on the learning room. This is an activity that must be accomplished for me to get any planning done over the summer to prepare for the next year. I’m pleased with the results.
I begin by emptying all shelves – everything comes out of the room and is stacked in the hall. Books are re-grouped by subject. Shelves are dusted. I stand back and envision how I need the room to function for the upcoming year. There’s always a toddler around, so I take his needs into consideration organizing certain materials up higher – like glue and other materials down low – like blocks!
I place furniture and desks first. Then, I look carefully at the shelves around the room. Our Montessori shelves are always down low. I have very little wall space in the room, so I’ve had to get creative and have furniture “float” in the room. This allows me to use the wall space I have for storage and display.
After furniture and shelves are cleaned and placed in the room as I like them, I begin adding back books and materials. The shelves on the wall are arranged and grouped by subject.
A quick word on the content of the room. I’ve been homeschooling from the beginning – so that’s 8 years now. I’ve been a homeschooler in my heart (reading and planning) since before I even had my first child – so that’s 15 years! I’ve been collecting that long. I’ll be at this (God willing) for at least another 18 years, possibly longer if there are more children 🙂 The furniture, books, materials you see around the room have been collected over the years a little at a time, not all at once. The materials are an investment in my children, who are priceless. If you are new to homeschooling, looking at this room would be overwhelming! You cannot duplicate everything you see all at once over the summer. Your husband would kill me! If you find an idea for organization here or in set-up that would be useful to your family, please use it! I’m sharing for that reason. But, don’t be overwhelmed by all you see – this has been a labor of love for me for several years.
Alright…the room…
This is how I’ve set up our nature and science center for next year.
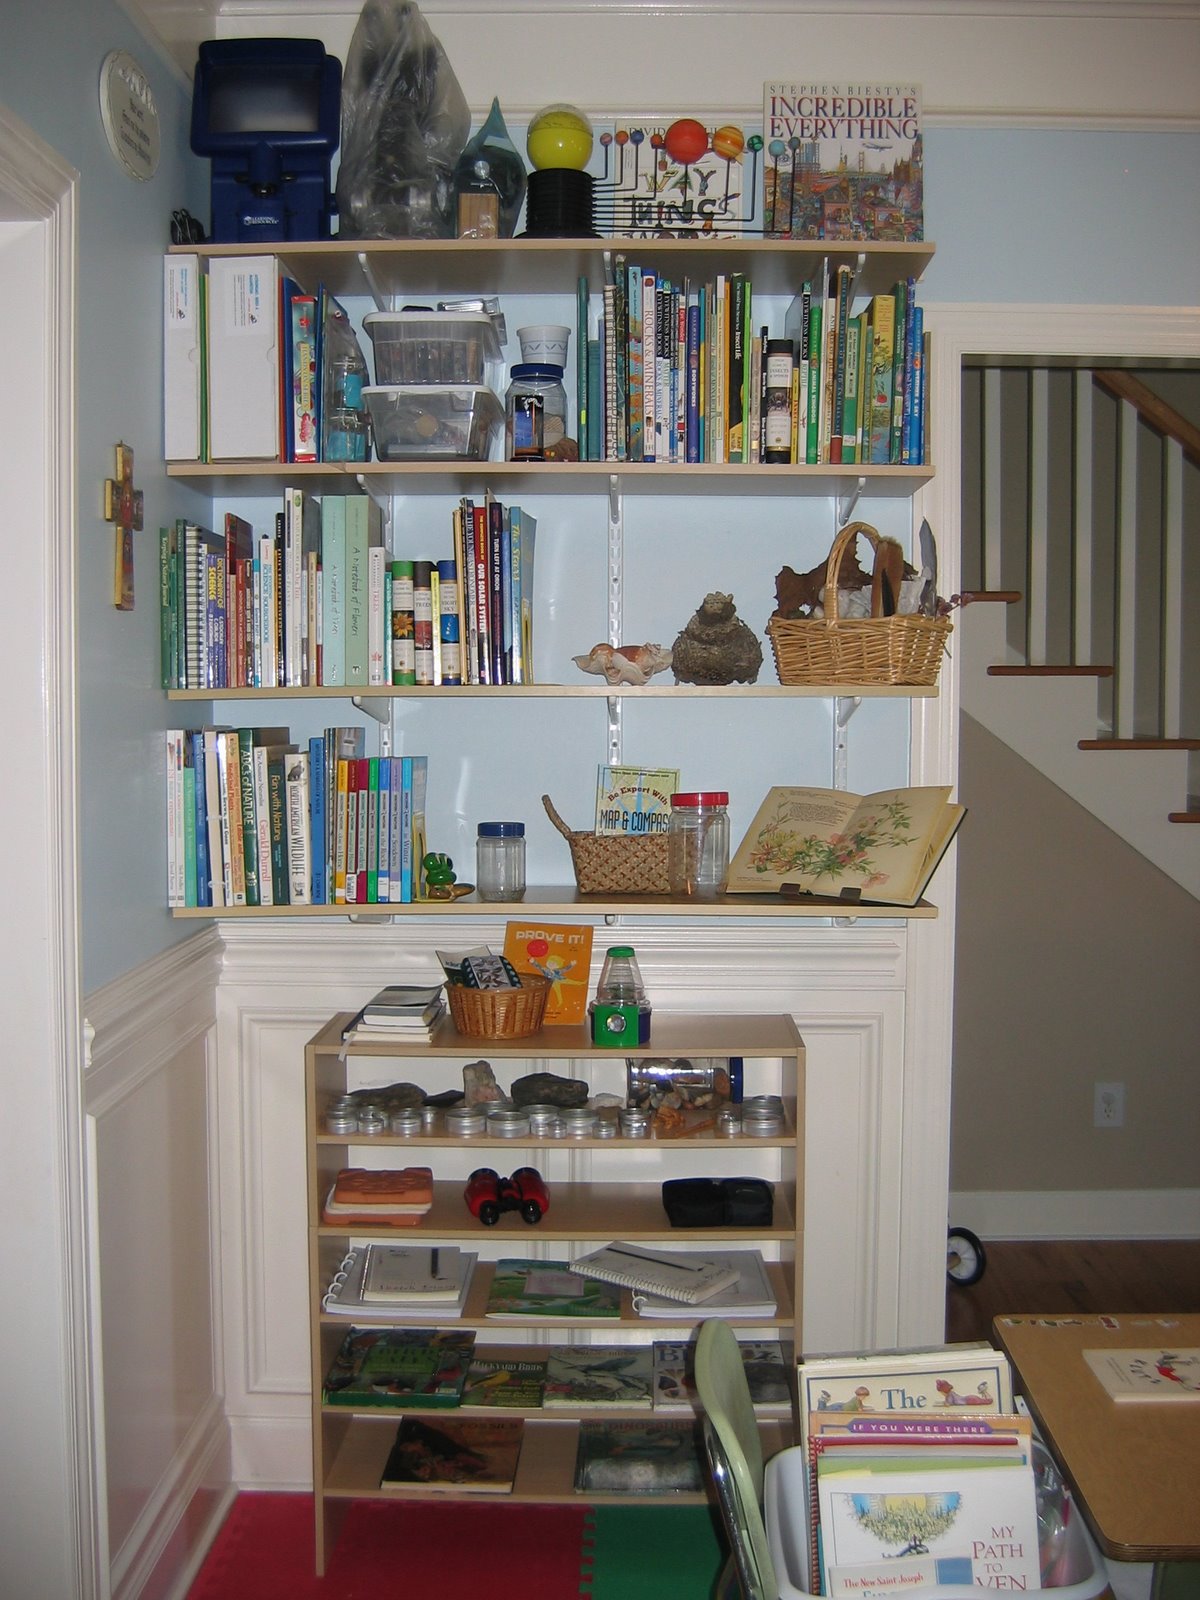 The shelves hanging on the wall contain resource and living books and are grouped according to the branch of science they pertain to. The lower shelves always contain and display the current topic of study. For the summer, I’ve set out general nature study items – binoculars, bird watching guides, bird identiflyer, flower press, nature sketch books, collected items and treasures from favorite nature walks, and a few lovely books for summer reading. We don’t do a lot of nature walking during the most intense parts of the summer – it’s just too hot and humid! So, I add treasures that we enjoy revisiting on the shelves. We watch hummingbirds and other birds from our windows.
~~~~~~~~~~~~~~~~~~~~~~~~~~~~~~~~~~~~~~~~~~~~~~~~
Turning 180 degrees and you see the Montessori side of the room – well, the lower half is Montessori. As you can see from the pictures, the shelves are pretty much empty. I don’t leave materials out over the summer with the exception of a couple of favorite activities – Peanut’s scissors, some ABC magnets, math property (+,-,x,/) boxes of equations for summer work. We start the year fresh, with empty shelves and add materials as they are presented. This is to ensure that materials are not abused or mis-used over the summer when attention is relaxed.
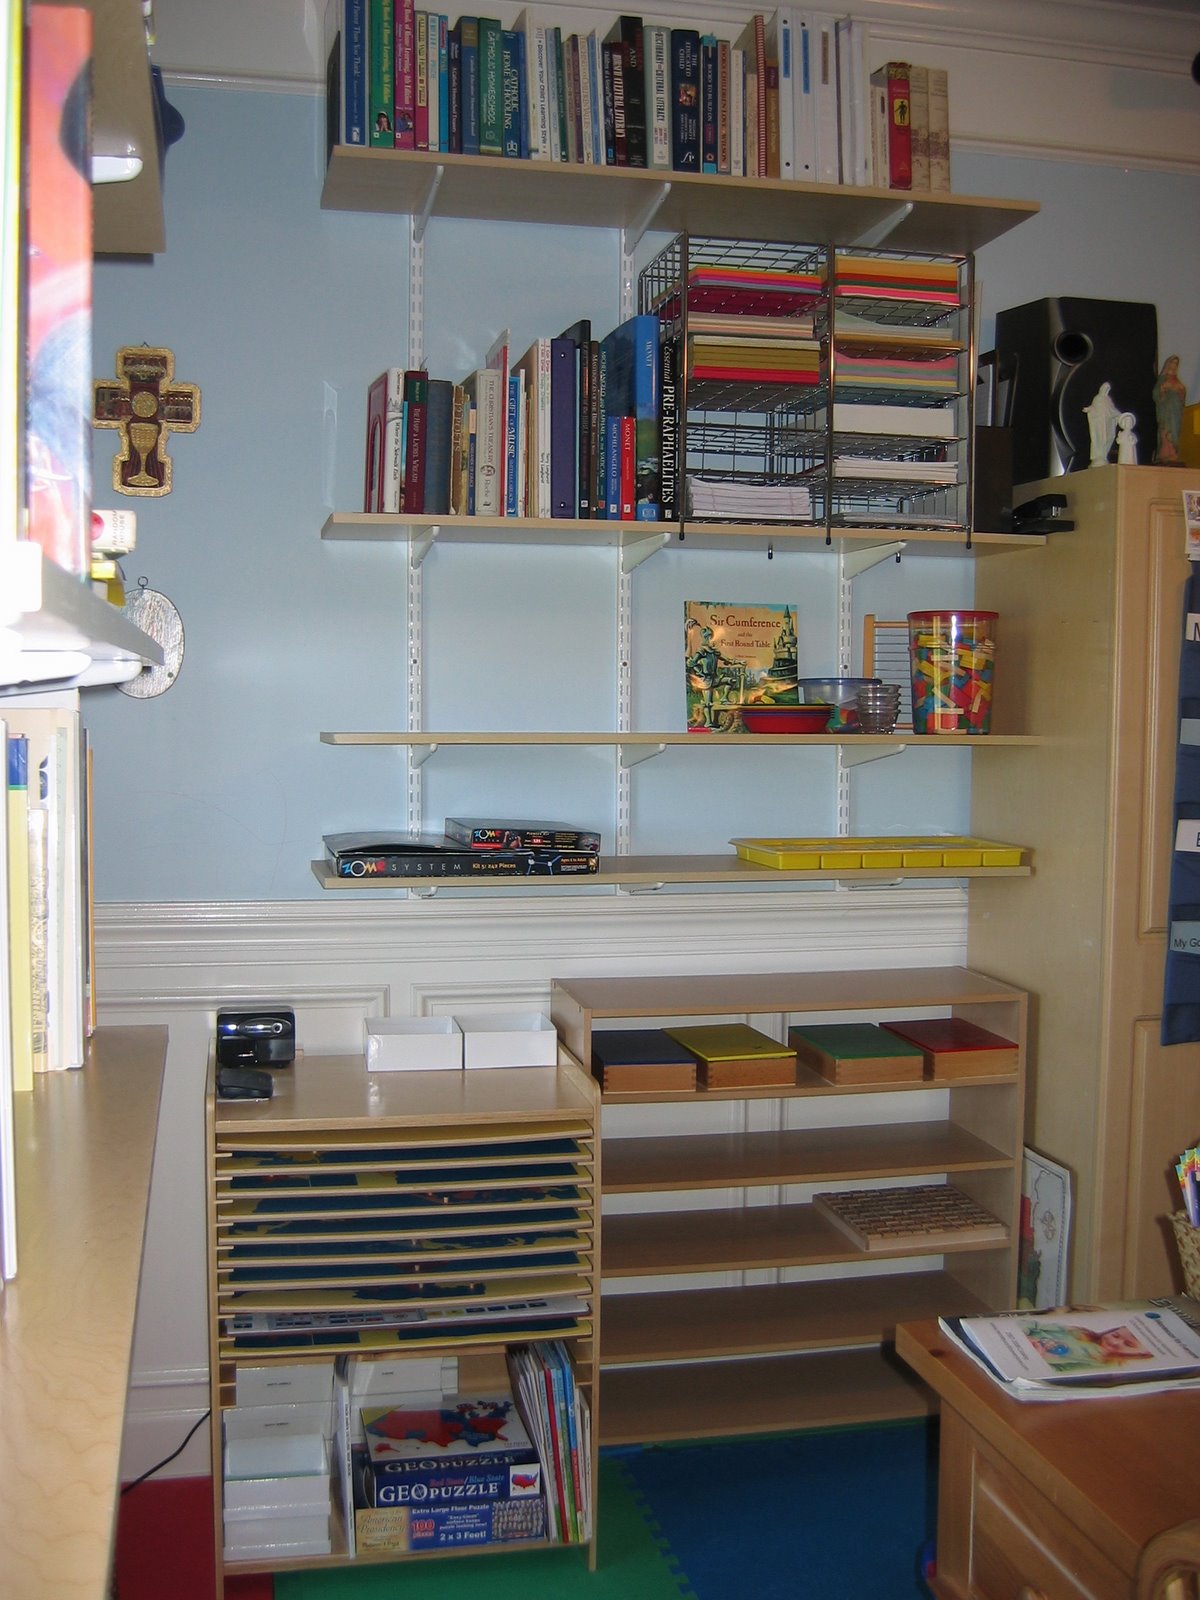
The Geography Maps have been a favorite resource of ours! They continue to see use over the summer. In re-arranging, I had to move our collection of globes and cultural materials to the other side of the room. I don’t like it, but it was just necessary. I like subject matter to be grouped together.
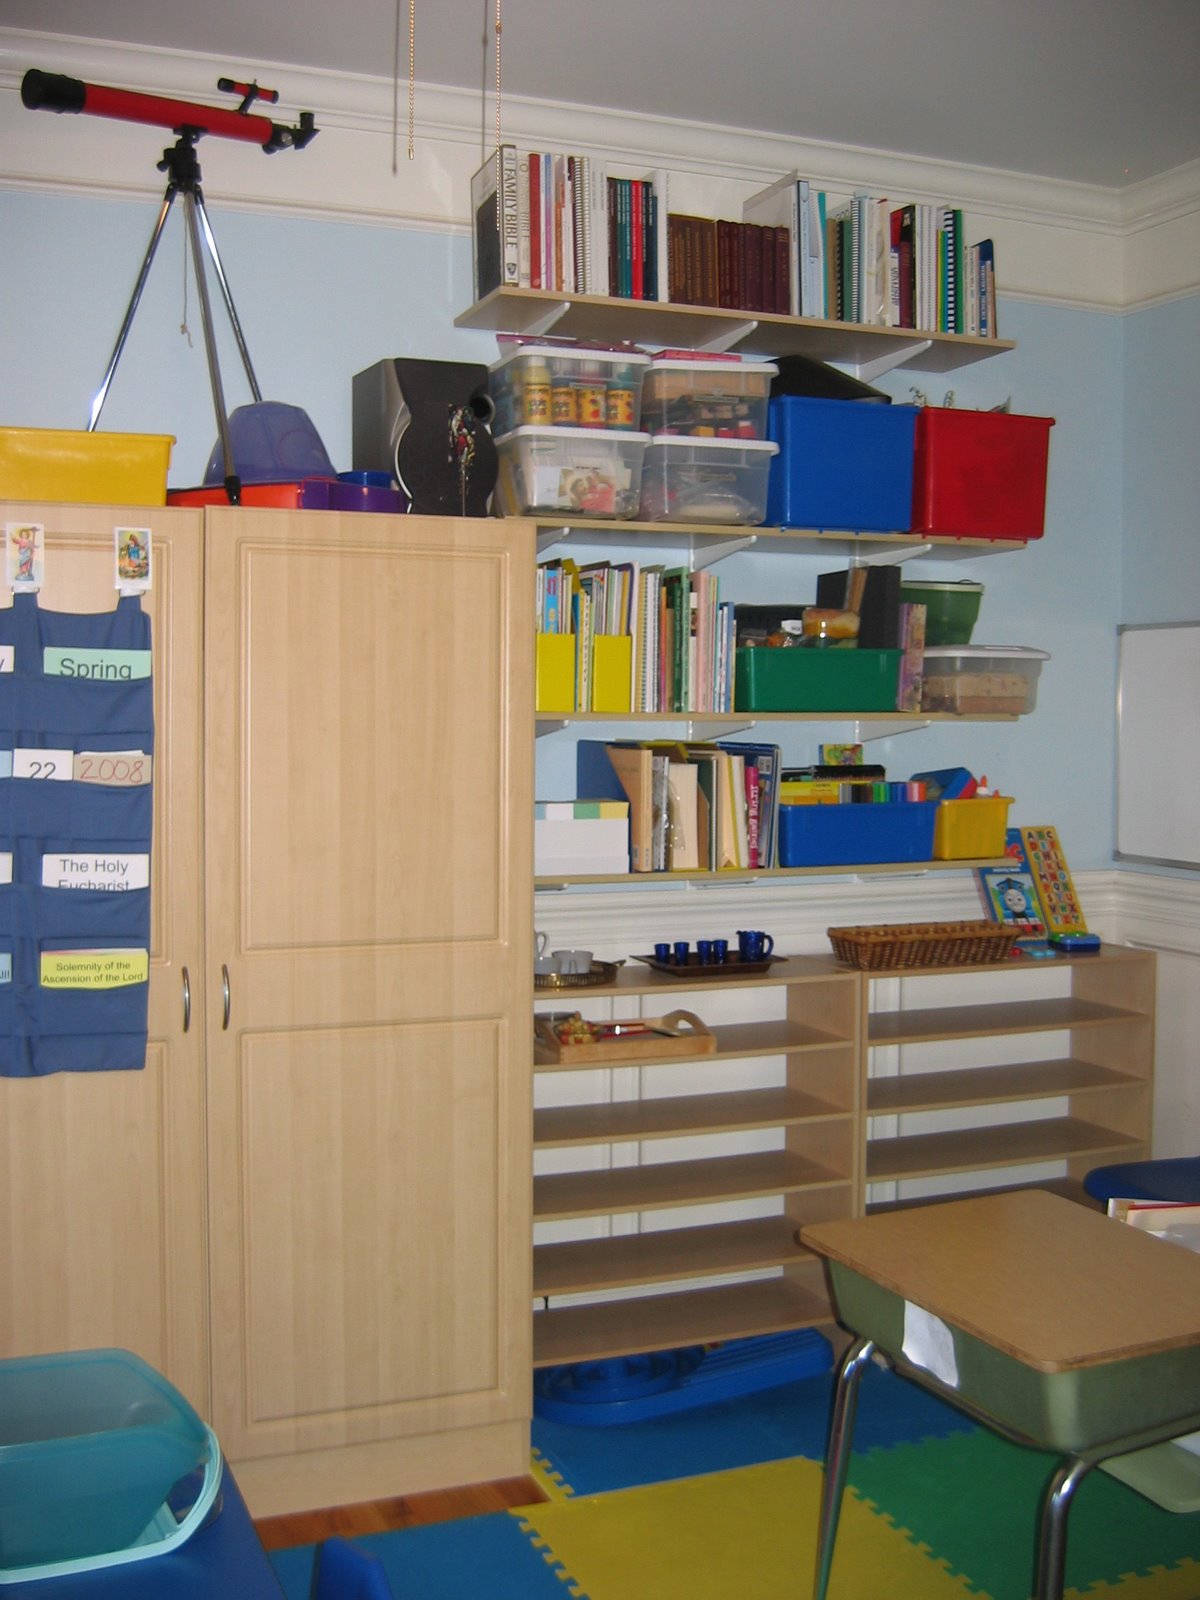
My supply cabinet (on the left) will be emptied and re-organized next week. I’ll have pictures up when I finish. The cabinet contains all of our school supply materials, my copier/printer, the CD player, all of the liturgical year material for the Feast Table, etc. I’m not sure if all of that will stay in there after I re-org. The upper shelves to the right of the cabinet contain all of our arts and crafts materials. I have a bit of a weakness there.
~~~~~~~~~~~~~~~~~~~~~~~~~~~~~~~~~~~~~~~~~~~~~~~~~
This is where I work. The desk is actually Sweet Pea’s, but I don’t have anything else to sit at, so I borrowed it from her room until I can find a suitable table or desk at the Thrift store to replace it. Behind my desk I keep all of the teacher’s manuals and resource materials I need to plan out the year. On the upper shelves behind me I keep the children’s books for the year. This area still looks a little messy because all of my planning books are set out in bins to be addressed and looked over during the summer.

~~~~~~~~~~~~~~~~~~~~~~~~~~~~~~~~~~~~~~~~~~~~~~~~~~
And finally, my big purchase for the year…the Picture Book Library…isn’t it lovely?
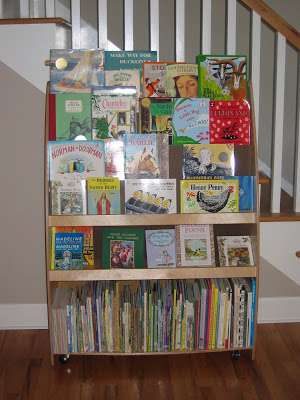
Um…can I admit another weakness for picture books? ‘Cause this isn’t all of them! The Catholic Mosaic titles are stored elsewhere, and there are picture books upstairs, and in baskets throughout the house, and you might even find a few in the bathrooms 🙂
What do I love about this little library? Well, for starters, it’s mobile. There are heavy duty casters on the bottom that allow it to move up into the learning room, or into the living room next to the couch, or up next to the stairs and out of the way. I love that I can store *most* of the picture books on the lower shelf, and then I can display the featured books for the month/week on the display section up top. It is very sturdily built and well made. All of the children find this irresistible. As soon as I set out books in the display section, they began bringing those books to me to read. I’ve been looking for a book display for the past year in thrift stores, but have had no success. I’m really glad to have this library/book display shelf – it meets all of my needs in such an attractive way!
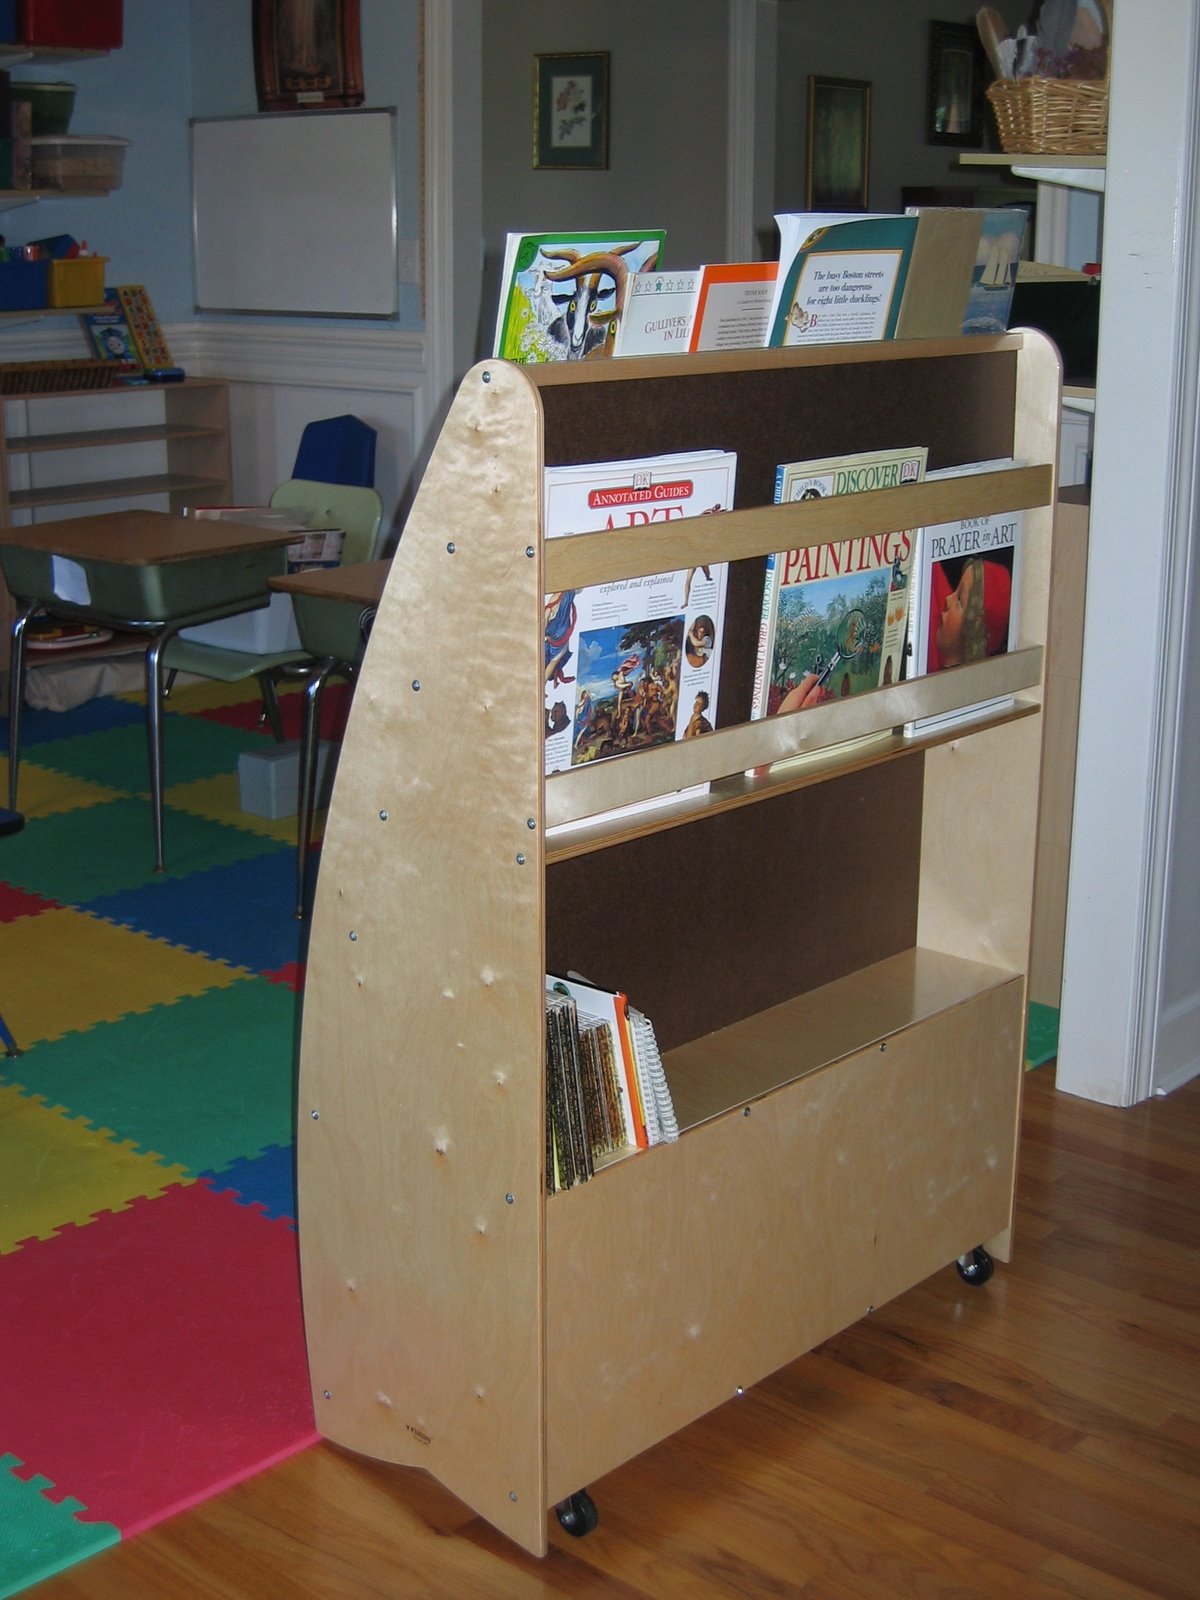
The back side has even more display room and storage! No space has been wasted!
So, that’s a tour of the learning room. Next week, I’ll organize my storage cabinet, and then begin the planning for the next year.





BRAVO!!!! Great inspiration for “someday” in a newbie. 🙂 I’ll just print this out and tell my dh “this summer” as you suggest. LOL!! Just kidding…I love it! It helps to see others set-up to figure out what to do here at home.
I’m so impressed! I would just be happy with the size of your schoolroom! I have a good amount of books, supplies, etc, but just not enough space for it all and it’s easy for it to look cluttered. I have to revamp the whole thing this summer. Thanks for sharing and I love your picture book display cart!
Oh wow, how inspiring. I’m drooling…. 🙂 The picture book cart looks wonderful.Is that a dining room that has been converted into a learning room?
Thank you so much ladies. It feels good to have the room organized and tidied for planning.Yes, Monique, that is my dining room converted. Sometimes I miss having a dining room when my family is all here…but…the upside is that the room is very conveniently located in the living area of the house. We took down the chandelier and replaced it with a ceiling fan. We painted the room a crisp, cool shade of blue. We mounted adjustable shelves to the walls, and finally my husband built the school supply cabinet. We bought the cabinet from Lowe’s. It’s bolted to the wall.The room works well for us.
It’s beautiful Jen, happy learning!
Wow… all I can say is, do you want to come do my new basement??🙂
Wow, your learning room is so beautiful… Can I ask where did you get those 5 shelves organizer?
lili – do you mean the shelves on the wall (the ones up high)??? or the Montessori shelves (the shelves down low)???Or neither??I’ll just take a stab – the shelves up high are hanging from tracks mounted on the wall. Hung this way, they are adjustable in height, and can accomodate 80 pounds of weight each. The entire system was bought from Lowe’s.The shelves down low are shoe organizer shelves and can be purchased at Target and Walmart in the closet organizer section of the store. What you see stacked are actually 3 units stacked one on top of the other. Each unit costs $10. Comment again and let me know if I answered your question or not!
Hi Jenmack, Thanks so much for your reply! I was asking the montessori shelves, That’s a great idea to use the shoe organizers, They look perfect for the montessori materials and doesn’t take up much space, we have a small living room, so this is important for us, I found your blogger by google “montessori” yesterday and I love reading your posts, Thanks again! 🙂