Of Paper Projects and Binding
You know, I’m a fan of technology. I really enjoy my gadgets; they are fantastic tools! I even have a Kindle and do truly enjoy the tool it can be in the home learning environment (my but all those free ebooks are such treasures for voracious readers!)

At heart though, I’m a paper gal. I just love the look of pretty paper, and the feel of a nice pen. I open the doors to my supply cabinet in my learning room and just delight at all the papers I have – spiral bound, yellow pads, white pads, decorative pads, journals with miscellany covers that make me happy. And books. Paper books. I love my paper books! Oh sure, that Kindle is a fantastic tool, but for reading and treasuring, delighting and savoring, it’s paper. Touchable, flip-able, tangible, sometimes yellowed with age – paper.
Which brings me to the project I’ve been working on this week! I wanted to share with you because I just think my little project came out so pretty, and it is a delight in the hands and, I find, a great deal more useable now than in their previous condition.
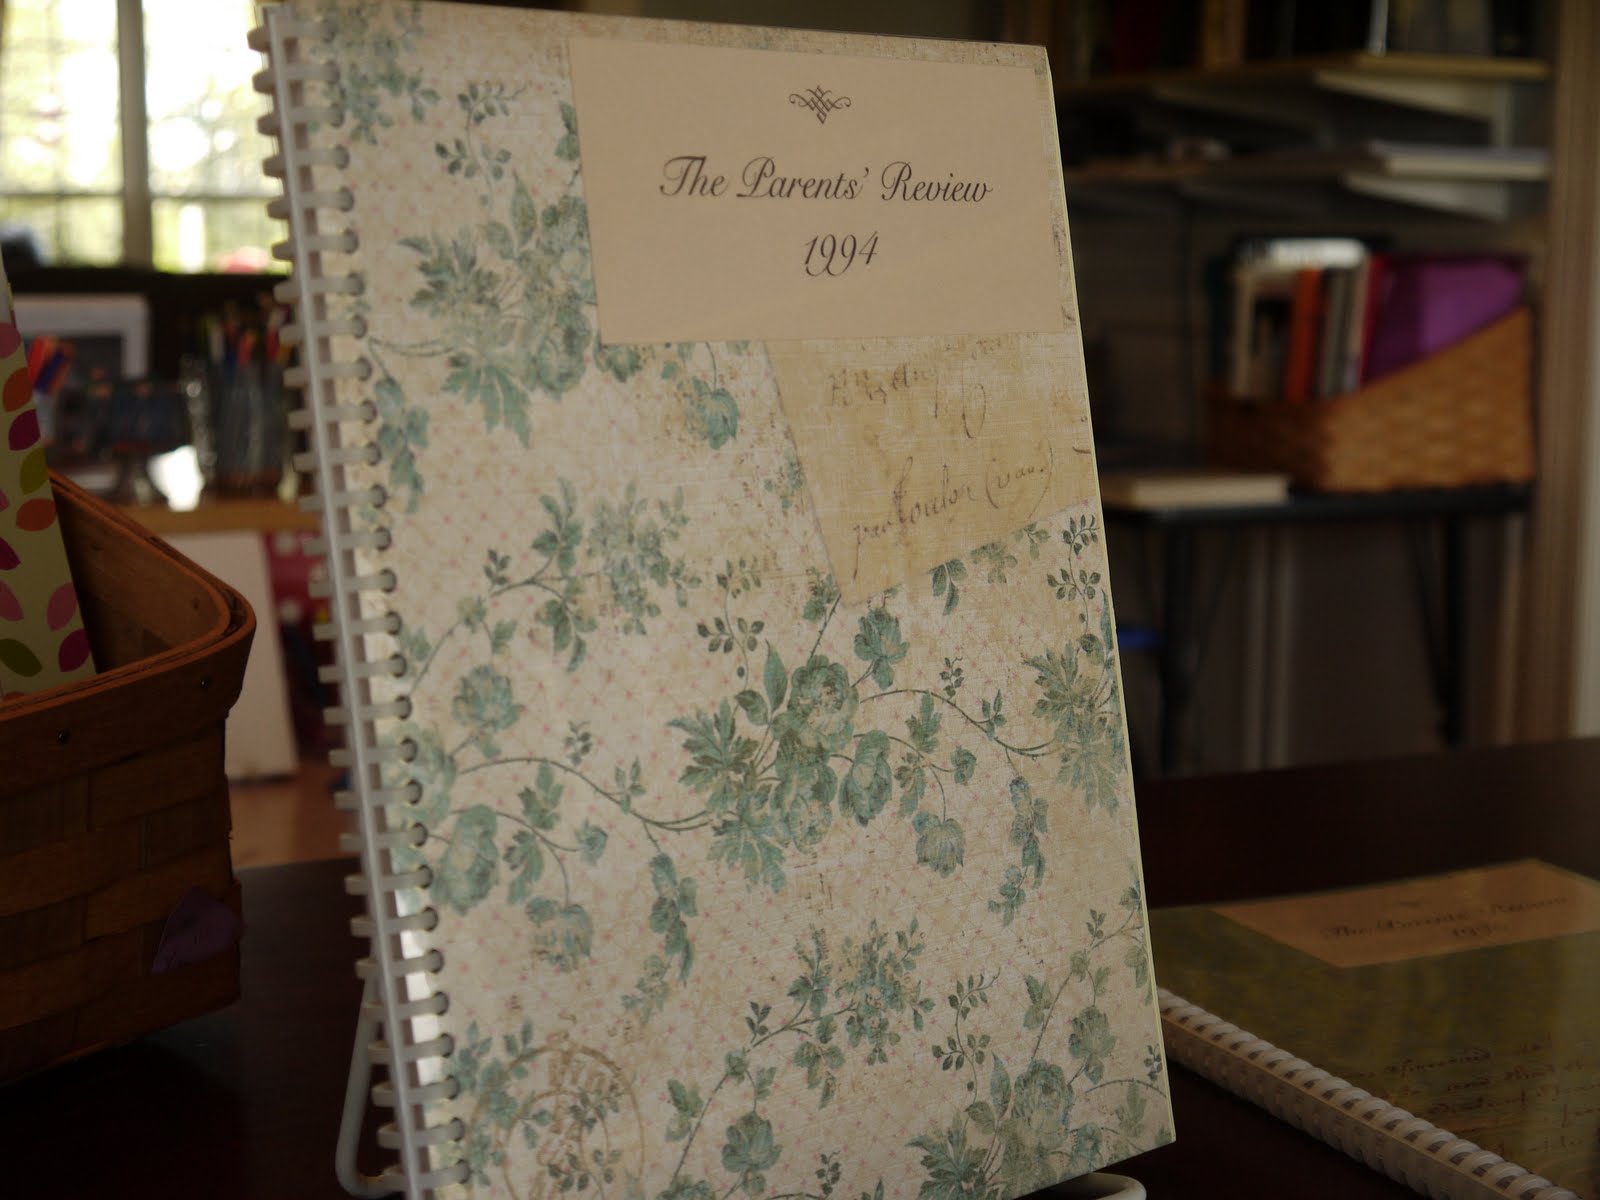
I inherited, from my mom’s homeschooling shelves, the entire set of Karen Andreola’s original Parents’ Review magazines. Do you have these, friends? If not, and if you’re looking for a little gentle, encouraging and enlightening inspiration in your Charlotte Mason home education, you might consider ordering the back issues which Karen offers on her website.

The Parents’ Review magazines, in addition to containing some fabulous in-the-trenches perspective from Charlotte Mason home educators of that time, also include a great wealth of original Parents’ Review articles, some of which are not printed or shared anywhere else (save the Library of Congress).


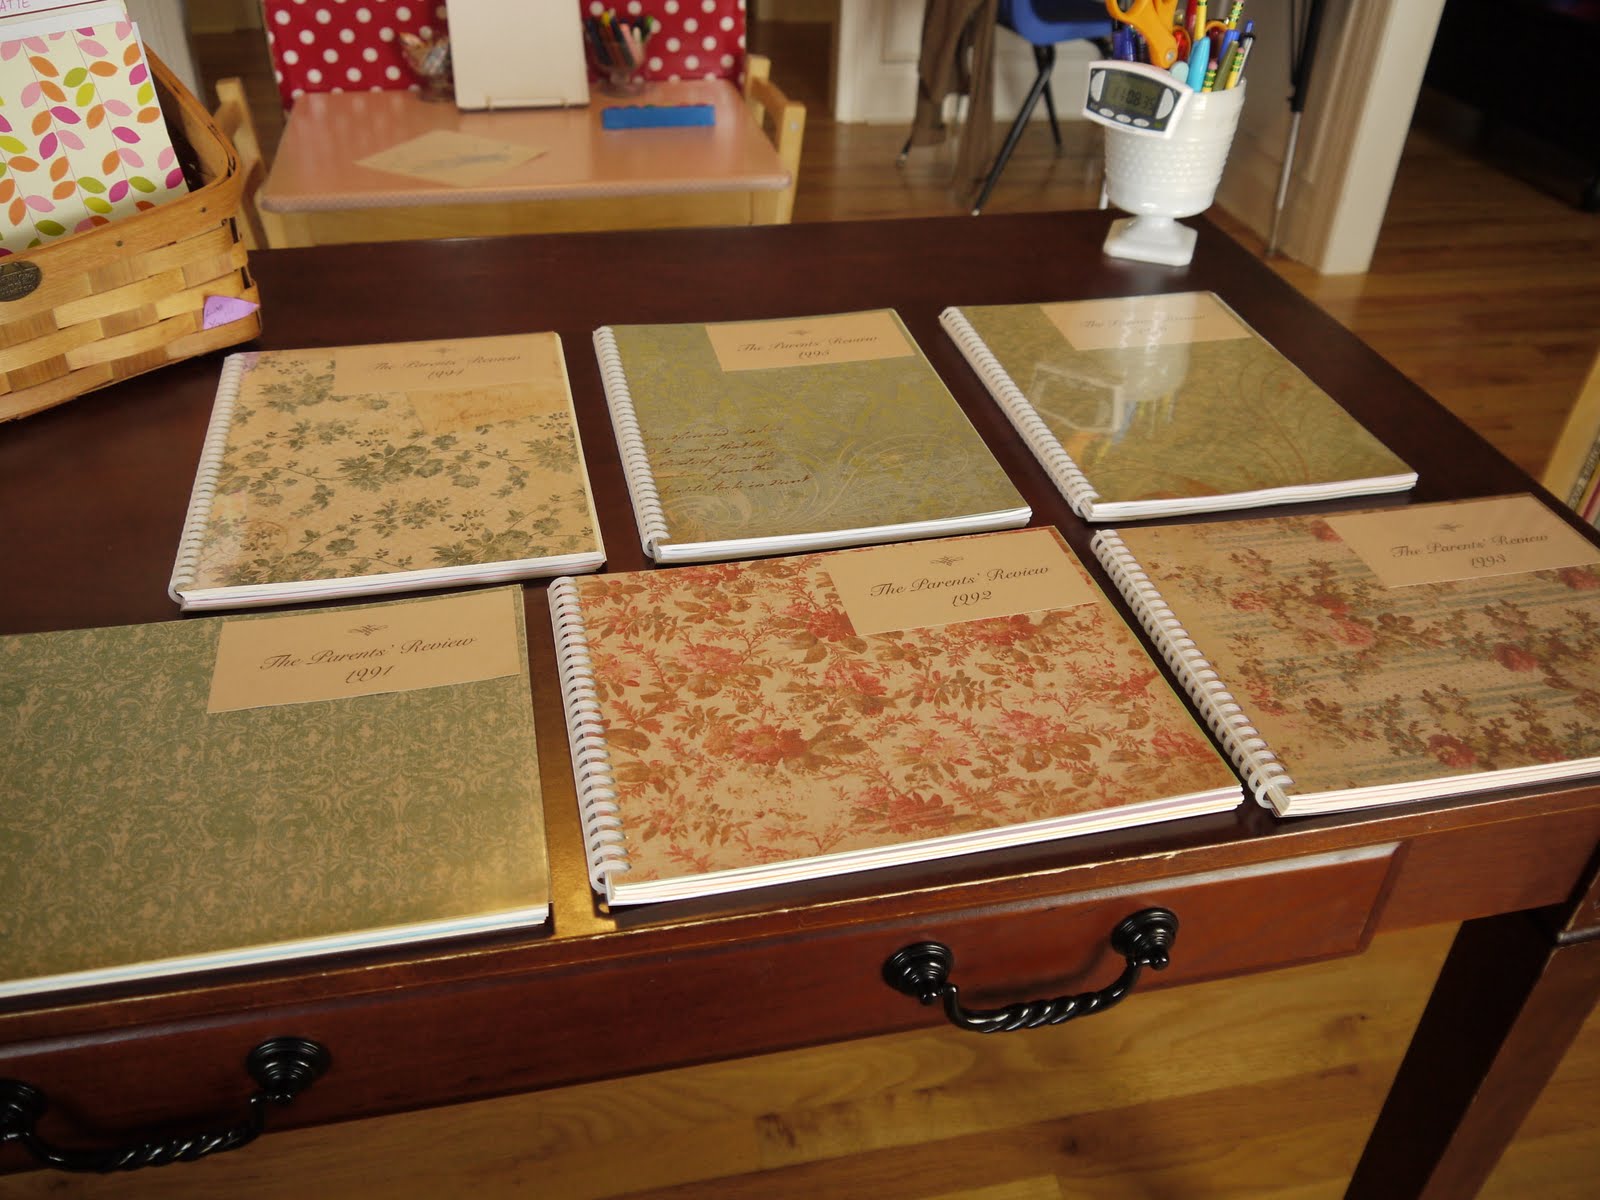
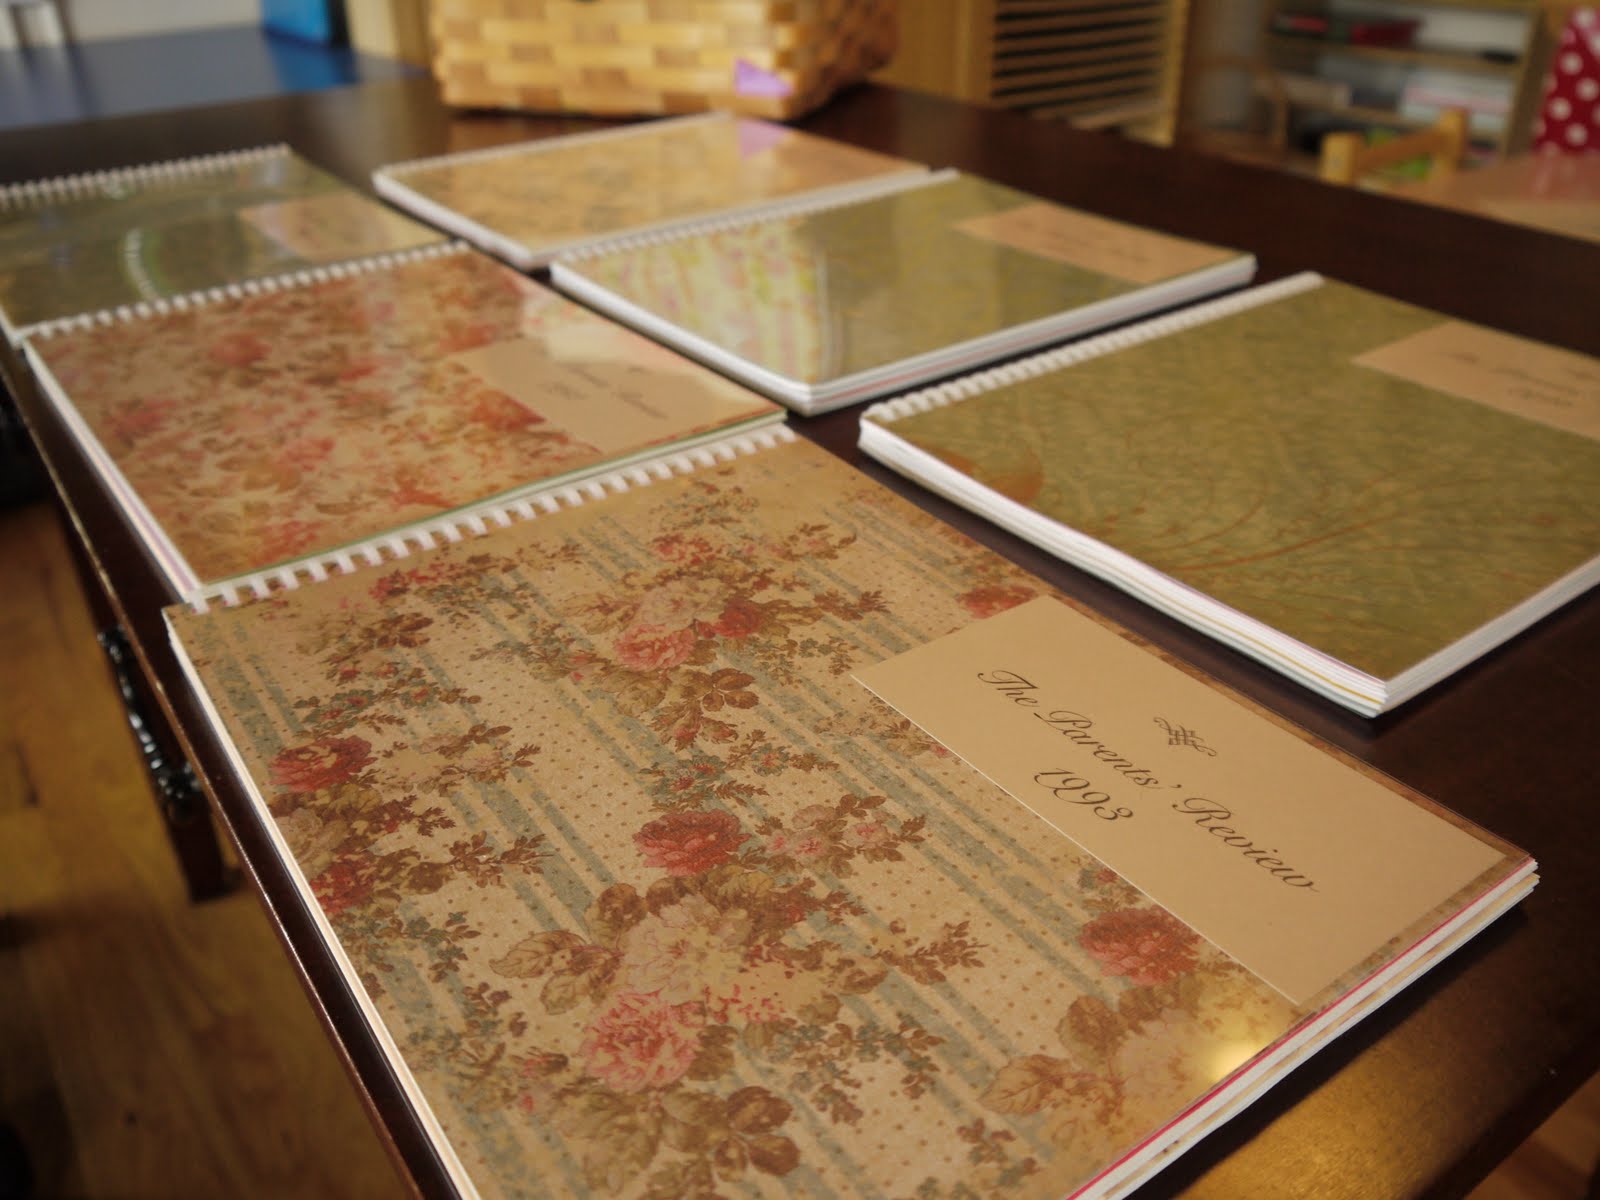
You can see that I bound some years in landscape {width larger than height}, while others are bound in portrait {height larger than width}. This is simply a function of how the magazines were printed for that year.
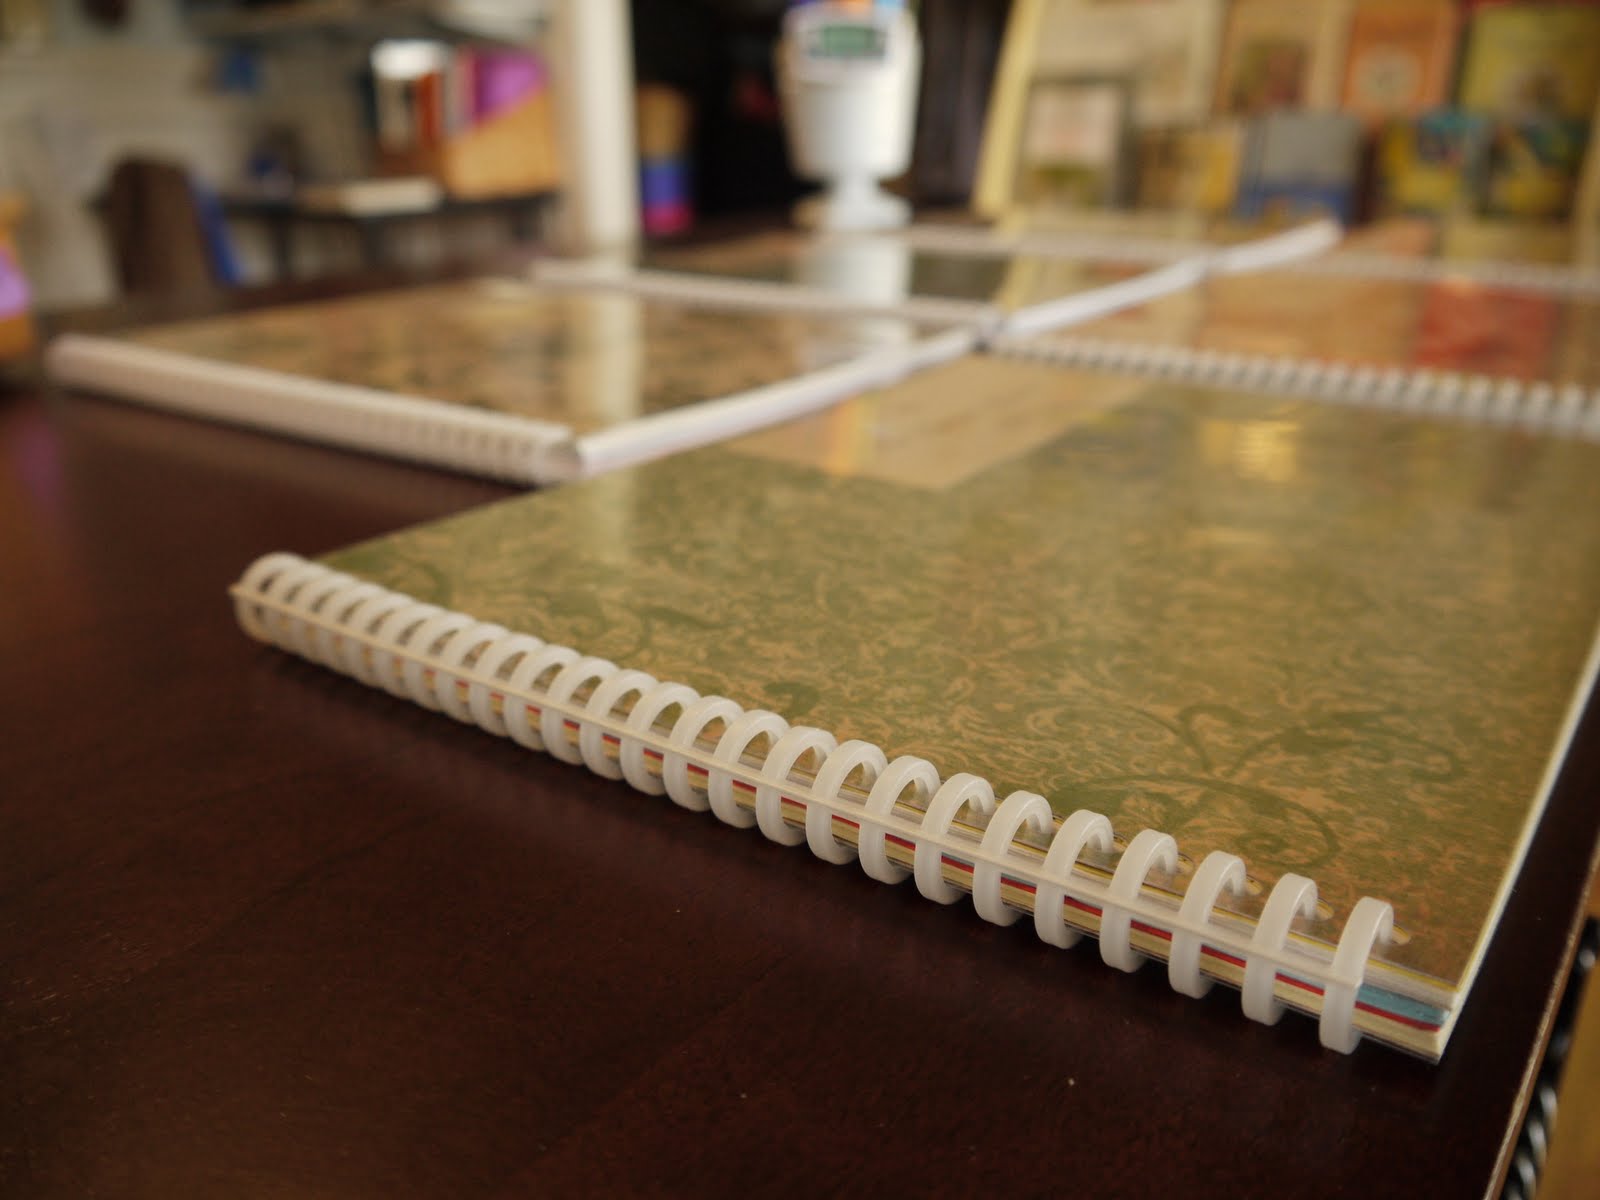
How did I bind these, and other happy little books which I print (with reckless abandon) from those free ebook sources? With my Proclick. This has simply been one of those amazing and fantastic tools that I’m so grateful to have on my shelf! I carefully researched and considered this product for over a year before I finally bought one, and it has been in service since the day it arrived here. Quite simply, it is a hole puncher, but a special hole puncher! It punches holes in a 3:1 coil pitch so that pages, any pages that have been punched, can now be tidily assembled and bound together with coils, any coil with a 3:1 pitch. (I know, that sounds confusing…who the heck knows what a 3:1 coil pitch is anyway! Don’t worry, I’ll link you to all the right places so that this will make more sense!)
My favorite site for gathering information about which spiral binding spines to purchase, and the site with the most choices in terms of color and size option is MyBinding.com. Do click around a bit on their site if you’re considering this tool! You’ll find them to be a wealth of information, both on their website and when contacted personally!
I’ve bound many books with my Proclick. The Parents’ Review magazines you see above have all been bound with 1/2 inch spirals in frost. I used a clear presentation cover over K & Company Ancestry designer scrapbook paper
.
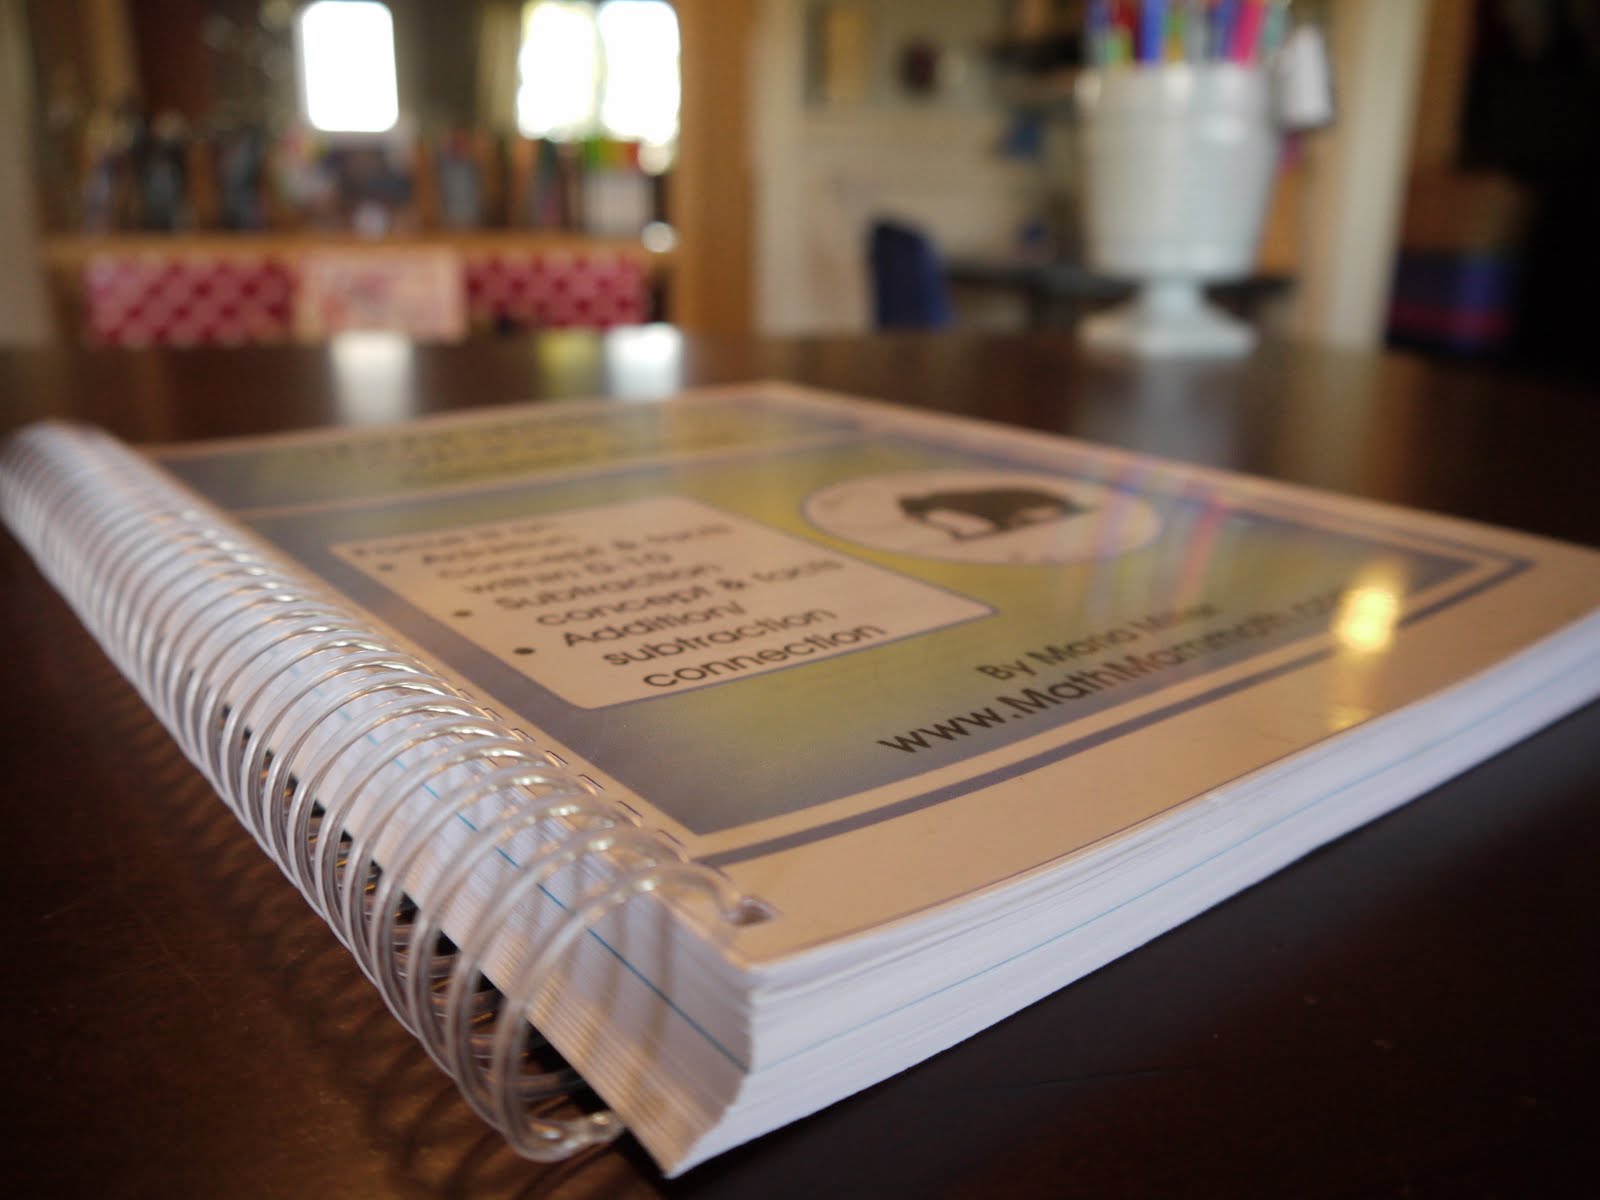
Because the Proclick punches in a 3:1 pitch, ANY 3:1 pitch coil will work to bind pages. (A 3 to 1 pitch means that there are 3 holes for every 1 inch.) This made the Proclick that much more useful to me because it meant that now I could punch and bind thicker books, like my Math Mammoth books! Works wonderfully!
- The Proclick P50 (which is much cheaper at Amazon
right now!)
- And coils – choose your size and color.
- The Proclick coils come in only 3 different sizes and the amount of paper they’ll hold depends a great deal on the weight of the paper you choose. Here’s a rough idea of what each size can hold:
- 5/16″ — About 45 sheets of 20 lb paper
- 1/2″ — About 100 sheets of 20 lb paper
- 5/8″ — About 125 sheets of 20 lb paper
- The Proclick coils come in only 3 different sizes and the amount of paper they’ll hold depends a great deal on the weight of the paper you choose. Here’s a rough idea of what each size can hold:
- And bigger coils for bigger books if you like.
- The larger coils hold more paper. The coil pictured above binding my Math Mammoth book is a 25 mm coil and will hold about 220 sheets of 20 lb paper.
- You might want to consider clear covers which add a nice finished look. (I’ve found I actually prefer the unpunched clear covers
, which can easily be punched in my Proclick, because then I can choose to use the cover in landscape or portrait format, whereas if they are prepunched, they are only useful for portrait {height larger than width} format.)
- A simple back cover in a neutralish color.
- Pretty scrapbook papers to add covers (not necessary, but really so nice, don’t you think?)
Coil lengths can easily be trimmed with standard scissors, but I use an oval hand crimper for trimming the bigger coils. Edited to add: Another benefit of the Proclick is that I can RE-open the coils after binding, and insert additional pages (or subtract). It is nice to have the benefits of a spiral binding, as well as a little of the flexibility of a binder.
If you are seriously considering a purchase of the Proclick, do read through the comments section of this post for additional information. Readers asked some great questions! I’ve been updating this post with some information as questions have come in, but read the comments for more information about the Proclick!
And, because I love variety, do check out Jenny’s fantastic review of how she makes use of a Zutter binder!
Well, I know the last part of this post was mostly a review for my Proclick, but I really have wanted to share about this fantastic tool for some time, and I do remember feeling dizzy with all the options and sizes. And, what better time to review it than when I have just bound the prettiest little collection of magazines into useable books!


Lovely post Jen. Cute Kindle stand, I love the circles 🙂 You make a good statement for the proclick, been pondering one for a while. We are big into binders here, even for our mammoth math. How do you like your bound books better or different than the three-ring binder option??? Hope your new year is off to a grand start! Love Meredith
Oh Jen, I've been looking at my filled out order form all summer (I'm seriously blushing). I just wrote out the envelope, put a stamp and it's going out tomorrow!! They look just wonderful (I love the paper you picked for the covers), can't wait to get my set and start sharing : )
Jen
I've had to click back and forth to your proclick to really get it. I have a comb binder so I'm really puzzled as to how you thread your coils through.
Meredith
I find I use bound books far more than binders, if I put material/books in a binder I never look at them.
Meredith,
You ask a great question – binder vs. proclick?
There are real benefits for both, and I do still use binders here! The problem is that there are *just-so-many* binders, and I was starting to print a number of ebooks. Binders were taking over my shelves, and the binder footprint was larger than just the simple pages bound with a spiral Proclick. Now, don't get me wrong – I love my 3 ring binders! I like binders for things I need to add to frequently – like a notebooking pages treasury or my own home education planner.
I like the Proclick option for books that we:
1) like to lay flat
2) want to bind and keep – like an ebook I've printed
3) to group collections of papers together that don't really need a binder
…and I went back and edited my post to reflect this, but I'll add it here too….I like that I can reopen and add pages to the Proclick once something is bound. It's flexible in that way.
The drawback of a spiral bound book is that you can't label the spine easily, for ease of identifying on the shelf.
Jenny,
I can't wait til you get your set either so we can share together!
Erin,
The Proclick coils don't thread through….they're split in half, like mirror images of each other. They fit in the holes punched and snap together. This is how you can *unsnap* the coils and add to the book….and then just re-snap the coils to re-bind.
Now, the bigger coils for thicker books DO thread through the holes like a standard coil.
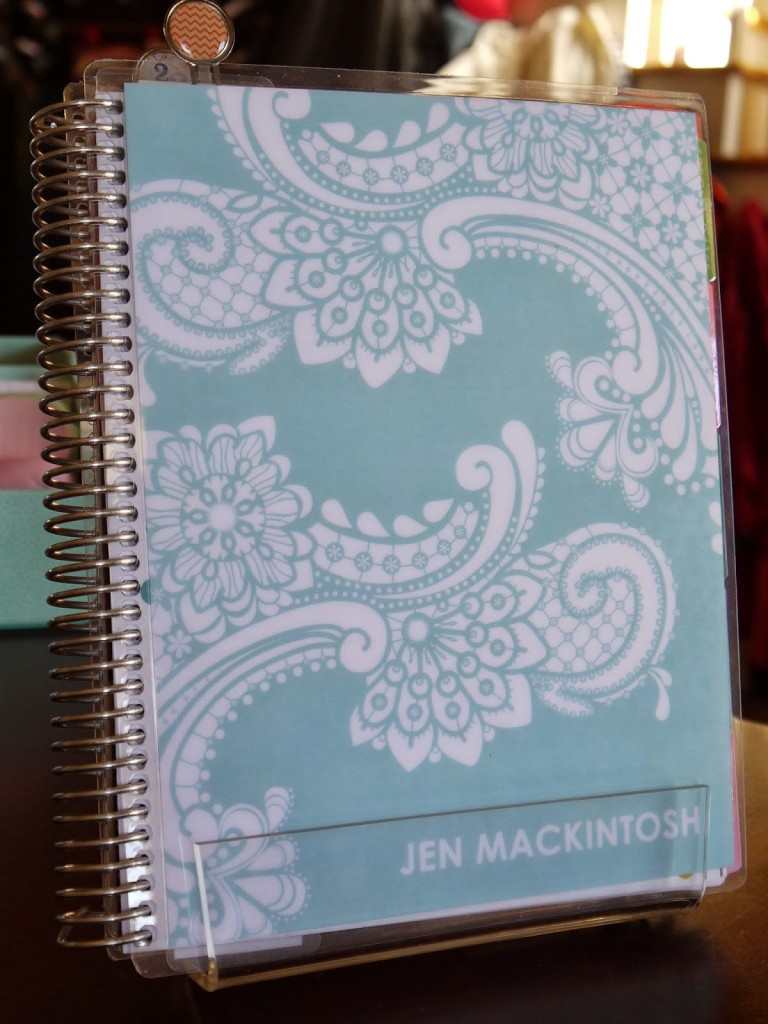
By the way….I meant to reveal what my cute Kindle stand is in the picture above!
The plastic stand is the plastic stand that comes with the Page-a-Day Calendar from the Metropolitan Museum of Art. (http://www.amazon.com/Art-2012-Gallery-Calendar-Page/dp/0761162844/ref=sr_1_1?ie=UTF8&qid=1315622491&sr=8-1) I used last year's stand and re-purposed it to hold my Kindle!
Those cute birch wood circles are from Night Owl Paper Goods! (http://nightowlpapergoods.com/product.php?productid=631&cat=261&page=1) Aren't they neat?
Jen, I'm really loving this idea (esp for when I do hand-outs for teaching knitting). So the smaller Proclick coils snap together (how big can you bind with those) …. but the wire coils need to be thread thru, how does that work?
And, just curious, why didn't you go with one that binds and punches holes all in one?
Hi Mary!
The Proclick coils come in only 3 different sizes and the amount of paper they'll hold depends a great deal on the weight of the paper you choose. Here's a rough idea of what each size can hold:
5/16″ — About 45 sheets of 20 lb paper
1/2″ — About 100 sheets of 20 lb paper
5/8″ — About 125 sheets of 20 lb paper
If you overstuff one of these bindings with more paper than they can comfortably hold the book won't open and close easily and the bindings will begin to pop open (but it has to be way overstuffed for that to happen). None of my bindings open themselves, and I do have one overstuffed bound book.
The larger coils hold more paper. The coil pictured above binding my Math Mammoth book is a 25 mm coil and will hold about 220 sheets of 20 lb paper.
Threading the book was larger book with the larger coil was easy, and I've done a few books now with this coil. Simply punch and assemble the book. Hang the edge off a table or desk and start the top edge of the coil in the first hole. With your hands, keep turning and rolling, threading the coil into all the holes. For the most part, the coil does the work for you. It is not difficult to do! When you're done, you'll have about an inch of extra coil on either end which will need to be trimmed.
I looked at machines that punch and bind all-in-one, but I just couldn't justify the extra cost for the professional machines. I considered a comb binder, but I really wanted something that would fold back on itself, and I hoped for something that was flexible enough to let me reopen it and add something if I wanted to. The Proclick really fit all of my requirements perfectly!
Hope that helps in your consideration, Mary!
I have been looking at the ProClick system off and on for awhile, now. It looks great but there are so many options out there it overwhelms me. Thanks for the review! I think I know what's going on my Christmas list!
Lovely Jen, especially love your choice of paper… and that fabulous Kindle holder!
By the way, I am planning for the coming year and would really appreciate a few words of advice from you about how your family does map work.
Many thanks for your blog,
Selena
I'm not a homeschooler (or even a mom), but have been having a good portion of my softcover quilting and cook books cut and bound this way at Office Depot for years. I've also done the small, workbook style Bible study guides for groups I've led.
Now that you've explained it so well, I am sorely tempted to get my own machine. So many uses!
Jen, I am working on my binding projects for the new year and ordering some supplies, and I just thought I would let you know that the Amazon link for clear cover sheets now costs about twice as much as the equivalent at mybinding.com. I double checked because I know you are always so conscientious about finding the best prices on things, and I figured you must either have had a good reason for choosing these particular covers or that the price on Amazon has changed since you purchased there.
Dear Jen,
I keep coming back to look at this information which I am so grateful for. But can’t decide exactly what I need to order. Would you mind telling me exactly what you ordered. I’m getting myself overwhelmed on size and colour and amounts, and extras that would be needed etc. Some bindings seem to have limited colours thank you I would appreciate your input.
Hi Jennifer.
I ordered exactly what I linked above in this post – so, just as a review…
** For a starter kit to bind with the Proclick, here is what you’d need **
(1) The Proclick P50
(2) And coils – choose your size and color.
The Proclick brand coils come in only 3 different sizes and the amount of paper they’ll hold depends a great deal on the weight of the paper you choose.
Here’s a rough idea of what each size can hold:
5/16″ — About 45 sheets of 20 lb paper
1/2″ — About 100 sheets of 20 lb paper
5/8″ — About 125 sheets of 20 lb paper
25mm – The coil pictured above binding my Math Mammoth book is a 25 mm coil and will hold about 220 sheets of 20 lb paper.
** …to add to a basic starter kit… **
(1) You might want to consider clear covers which add a nice finished look.
(2) A simple back cover in a neutralish color.
(3) Pretty scrapbook papers to add covers
Hope that helps. Good luck with your decision, Jennifer!
Thank you for this wonderful review. This is by far the best explanation and explained well. Looks like I know what to get!
I was told that Jennifer Mackintosh was recommending the Parents’ Review issues I mailed out back in the 1990s. This young mother gave me the link to this post after she purchased some back issues – when I inquired who it was. It is a pleasure to see how you have preserved the Parents’ Reviews that you inherited from your mother. How pretty you have made them. I need to do this to a set for my daughter who is now home teaching her children.
Thank you, Jennifer for ministering in the homeschool community.
Thank you so much for your kind words, Karen.